Sherry’s Scones
December 18th, 2025
As a young woman, I wasn’t much interested in cooking. And by “wasn’t much,” I mean I actively avoided it. When the radio station where I worked asked all the on-air hosts to share a favorite recipe, I panicked and stole one from my sister. It was a nacho dip made with three ingredients: melted Velveeta, ground beef, and salsa—dumped into a Crock-Pot and served with chips. Technically edible. Barely a recipe. Definitely not gourmet.
My culinary awakening didn’t come until a friend gave me a tiny cookbook devoted entirely to scones. I loved eating them, but at the time, finding a really good scone in Omaha felt like winning the lottery. So I thought, why not try making my own?
It took a few attempts—okay, more than a few—but eventually they came out delicious. Encouraged, I kept baking: for myself, for brunches, for parties. Before long, family and friends started asking (hinting, nudging, insisting) that I make scones for them, too.
Over the years, I grew to enjoy cooking all sorts of things, but baking scones at Christmas became the highlight of my culinary year. The process begins in early November and usually stretches right up to the weekend before Christmas. I never rush. Every batch gets my full attention: just the right amount of white chocolate, nuts, and fruit in every scone, and absolutely no broken ones allowed. Any imperfect scones are quietly removed from circulation and eaten by me or my family—quality control is important.
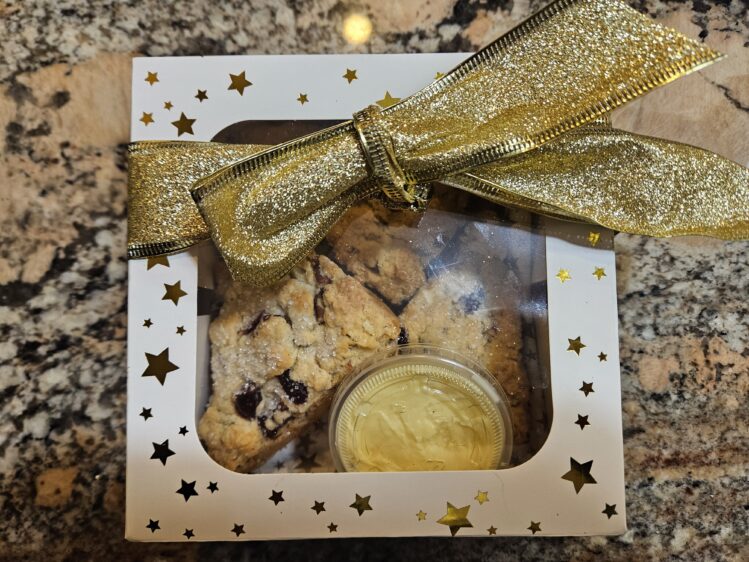
Once baked, the scones are packaged in gold-and-white boxes tied with gold ribbon, and now each box includes a little container of maple butter, because if you’re going to do it, you might as well do it right.
The memories tied to these scones are some of my favorites. A few years before my mom passed away, she and I spent Christmas Eve driving all over town delivering them together. And last year, after I had my shoulder replaced in October and wasn’t up to mixing or cutting in butter, I suggested there might be no scones. A near riot followed.
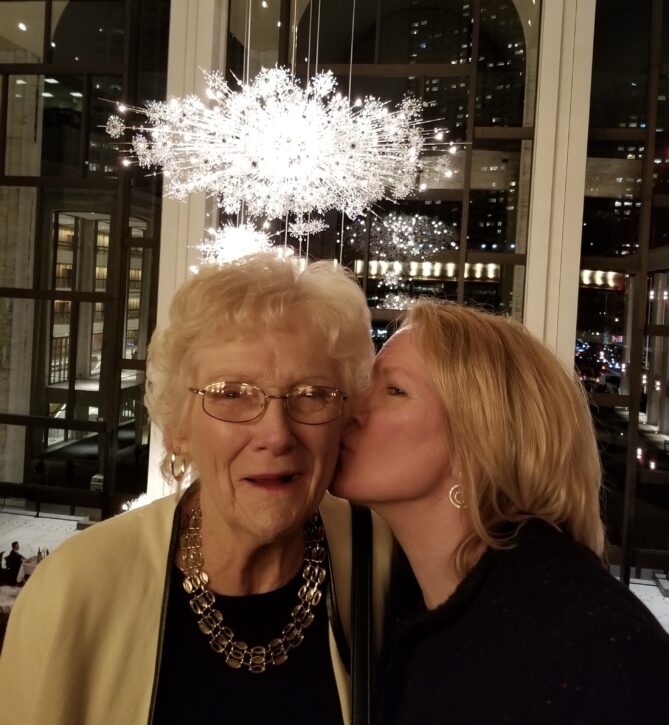
Sherry gives her mom a peck on the cheek at Christmastime in New York, 2017.
What I’ve come to realize is that this tradition is about much more than baking. My goal is for every person who receives a box of scones to feel as though they were made especially for them—and that a little piece of my heart went into each one. Making these scones sharpens the focus of Christmas for me, and I hope they bring a bit of warmth, joy, and something special to everyone who receives them.
Christmas Morning Scones
This basic scone recipe is very adaptable. The white chocolate and cranberries make these Christmassy, but you can substitute a variety of chocolates, nuts and fruits.
2 cups all-purpose flour
2 tablespoons sugar
2 teaspoons baking powder
1/2 teaspoon salt
¼ cup unsalted butter, cut into pieces
1 cup heavy whipping cream
1 large egg
1 1/2 teaspoons vanilla extract
6 ounces block white chocolate, cut into 1/2-inch chunks
1 cup toasted coarsely broken pecans
1 cup dried cranberries
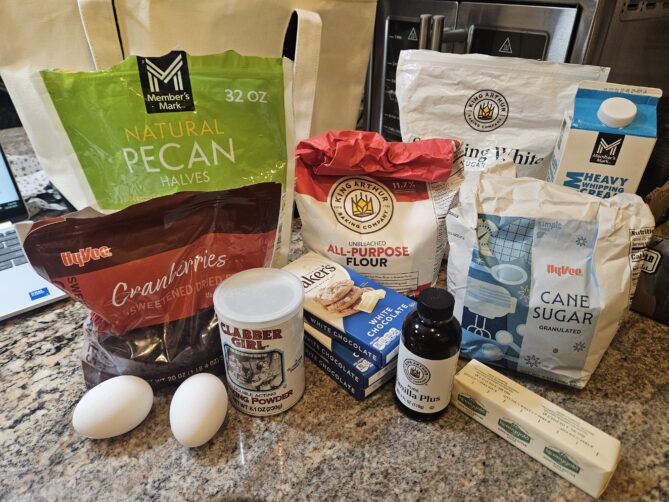
Assembling the ingredients.
Preheat oven to 375°F.
In a large bowl, stir together the flour, sugar, baking powder, and salt. Cut the butter into the flour mixture with a pastry blender until the mixture resembles coarse crumbs. In a small bowl stir together the cream, egg and vanilla extract. Add the cream mixture to the flour and knead until combined, then knead in chocolate, nuts and fruit.
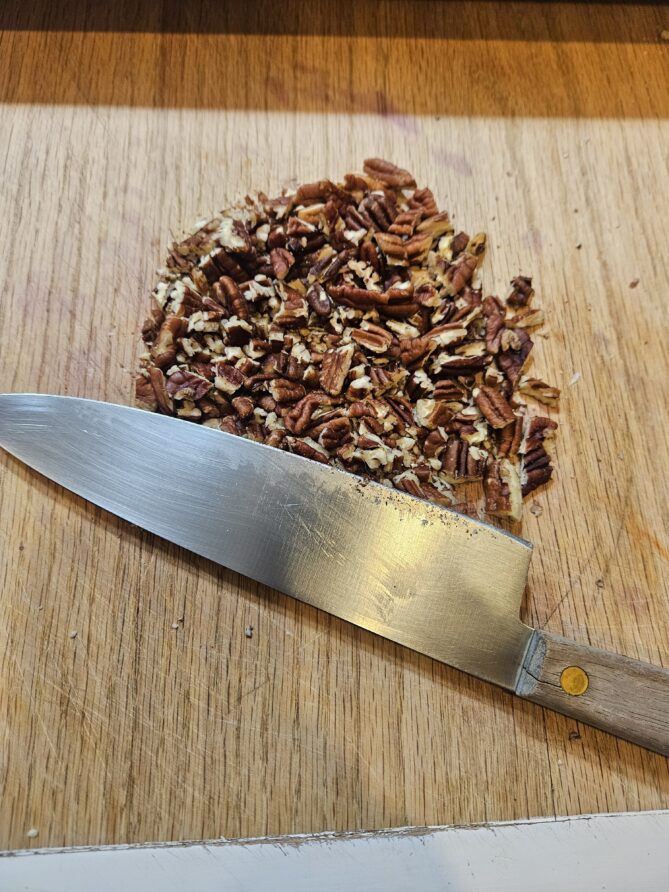
Chopping the pecans.
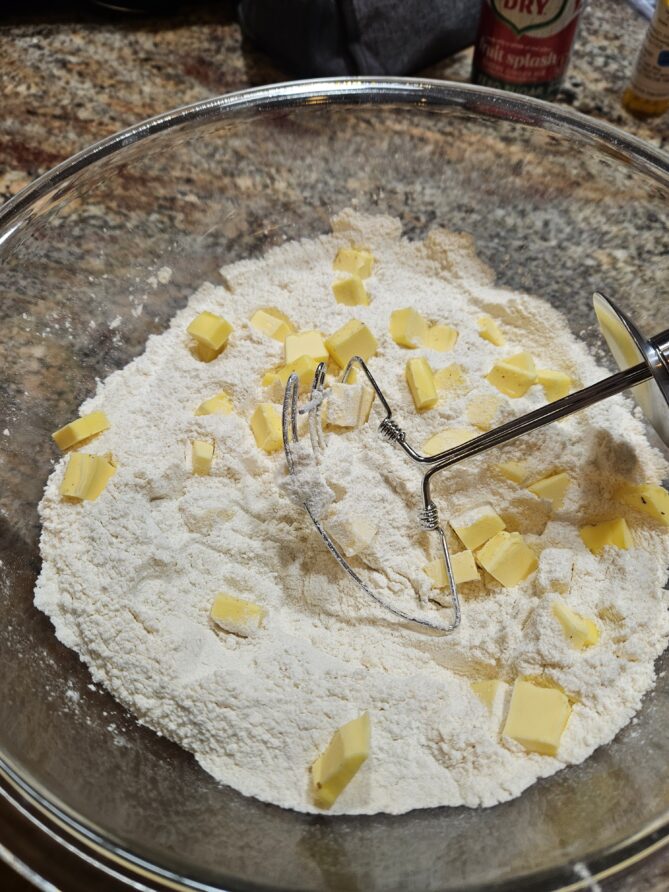
Cutting in the butter.
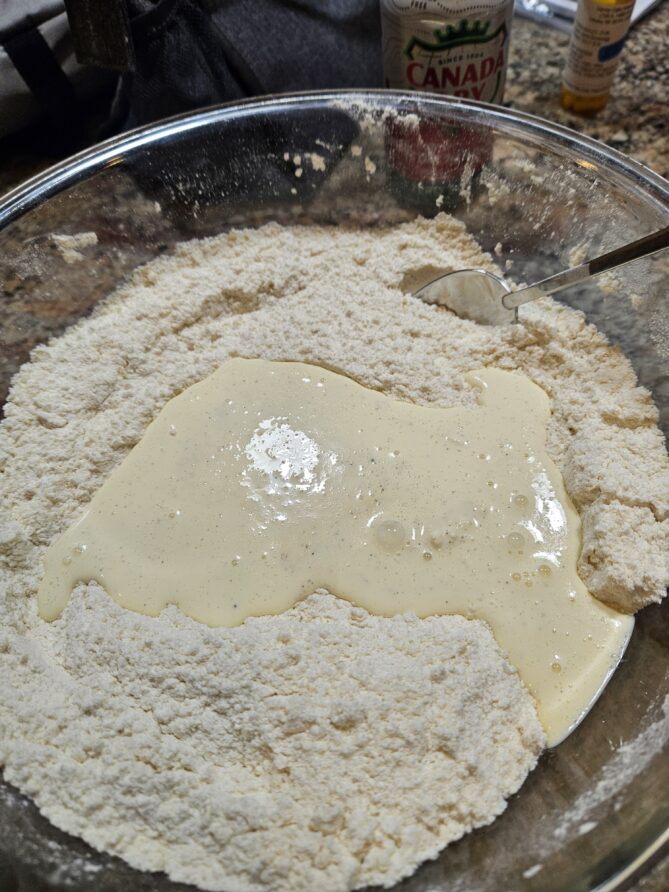
Mixing the wet and dry ingredients.
I use scone pans for these to create a uniform look; however, you can pat this into a 9-inch round using lightly floured hands and cut the scones into wedges. You can also use a cookie cutter, but keep in mind that any small edges will cook much faster than the rest of the scone.
Brush with egg white and sprinkle with sparkling sugar.
Bake 15 to 20 minutes or until scones are browned on top and cooked through.
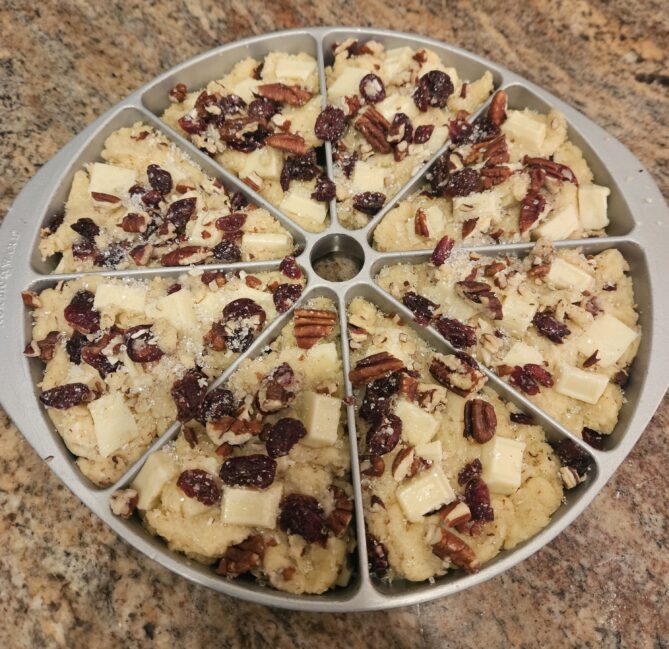
Ready to bake.
A few hints:
- You can easily freeze the scones after they are cooled. Wrap tightly in foil and plastic wrap and freeze. Bake the still-frozen scones until reheated. Watch carefully if you reheat in an air fryer – they can easily become burnt. You can also reheat them individually in a microwave. Just wrap with a paper towel to keep them from hardening.
- Be sure to use chunky chocolate instead of thin bars. Thicker bars won’t melt into the batter and keep chunky warm nuggets to bite into.
- Pop your butter into the freezer for about 10 to 15 minutes before cutting it into the flour. This keeps it from melting before it gets into the mixture and the scones have a much better texture.
- If you have a large enough bowl that is also wide enough for cutting in the butter, you can easily double this recipe.
- To toast the nuts, bake for about 7 minutes at 375°F. Watch the nuts carefully – depending on your oven they can quickly burn. Burned nuts have a bitter taste, and you won’t want to use them in your scones.
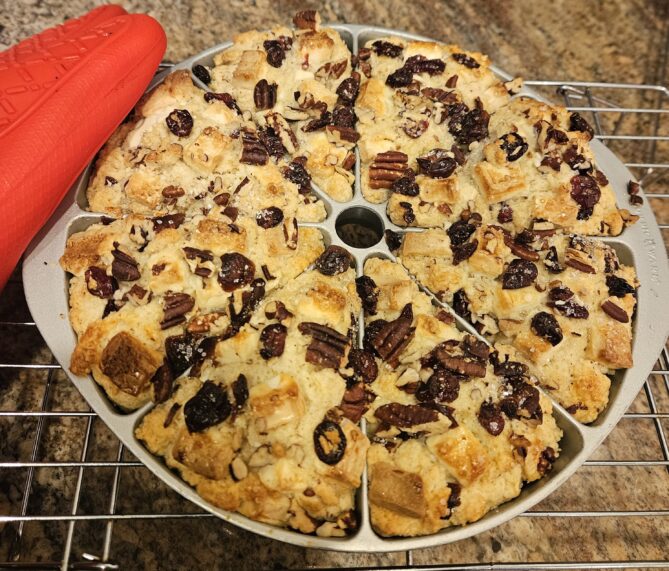
Fresh from the oven!

